
In this part of the tutorial, you will be adding 143 DNA sequences to the MegAlign Pro project and aligning them with the Clustal Omega algorithm using the default settings.
- If you have not yet downloaded and extracted the tutorial data, click here to download it. Then decompress (unzip) the file archive using the method of your choice.
- If a MegAlign Pro project is already open, choose File > New Alignment Project. Otherwise, launch MegAlign Pro.
- Choose File > Add Sequences, or click on the Add sequences to project tool (
![]() ).
).
 ).
).- Open the folder HPV project. Use Ctrl+A (Win) or Cmd+A (Mac) to select all 143 DNA sequences and click Open.
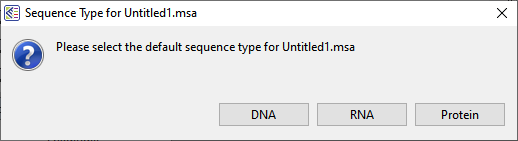
- When prompted, select DNA.
- In the Overview at the top left of the MegAlign Pro window, note the appearance of a series of gray blocks, one for each sequence. The gray blocks have the lengths of their corresponding sequences. Solid gray blocks and varying block lengths are both indicative of sequences that have not yet been aligned.

- To align sequences with Clustal Omega using the default parameters, choose Align > Align Using Clustal Omega or click the Align tool arrow (
![]() ) and choose Align Using Clustal Omega. Sequences now appear mostly in green, with gray representing gaps.
) and choose Align Using Clustal Omega. Sequences now appear mostly in green, with gray representing gaps.
 ) and choose Align Using Clustal Omega. Sequences now appear mostly in green, with gray representing gaps.
Proceed to Part B: Navigate using the Overview.
Need more help with this?
Contact DNASTAR