
The Assembly Output wizard screen is the fourth of five screens used to set up a gene homology alignment. This screen requires you to specify a project name. You can also change the location for the alignment output.
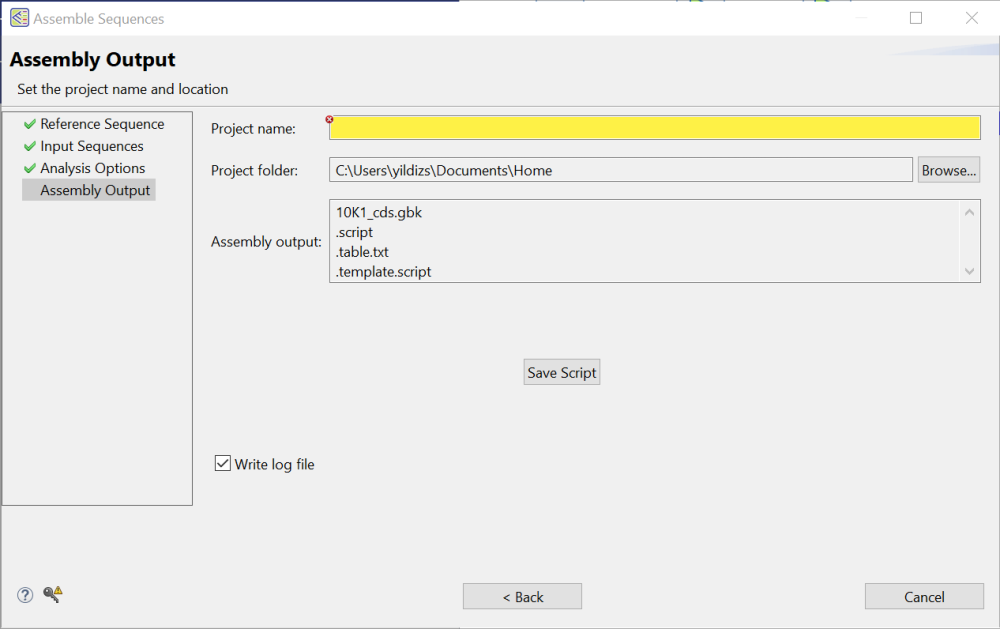
- Project name – Type a name for the project into the text box.
- Project folder – Use the Browse button to select a location for your assembly output files.
- For non-Cloud assemblies, Browse launches your file explorer. Navigate to the desired location and then click Open to exit. Never save the output files directly to the desktop, as the many intermediate files and folders created during assembly may hamper or prevent further computer operations. However, files may be saved to a folder on the desktop. You must also save to a writable location. For example, the User folder on Windows is not writeable.
- For Cloud assemblies, Browse opens the DNASTAR Cloud Data Drive and displays your files on the DNASTAR Cloud. Navigate to the desired location and highlight the target folder, then click the green check mark (
![]() ) to exit from the DNASTAR Cloud Data Drive.
) to exit from the DNASTAR Cloud Data Drive.
- For non-Cloud assemblies, Browse launches your file explorer. Navigate to the desired location and then click Open to exit. Never save the output files directly to the desktop, as the many intermediate files and folders created during assembly may hamper or prevent further computer operations. However, files may be saved to a folder on the desktop. You must also save to a writable location. For example, the User folder on Windows is not writeable.
 ) to exit from the
 - Assembly output – Displays the output file names and extensions based on current workflow and other selections. This is for information only and cannot be edited.
- Save Script – Press this button if you wish to save your project and convert your wizard choices into an assembly script (.script) prior to assembly. This button is not available for Cloud assemblies. The resulting assembly script is an editable text file that can be modified and re-run if desired.
- Write log file – To create and save a text-formatted log file that can be used for troubleshooting any issues with the alignment. The file is saved in the same project folder as the .assembly and is assigned the name .log. The log includes the script for the project, followed by a list of steps that were performed and their outcomes. This log is especially useful in troubleshooting an alignment that will not complete.
When you are finished making selections on this screen, click Next to proceed to the Run Assembly Project screen.
Need more help with this?
Contact DNASTAR