
Several views in SeqMan Ultra allow you to add data columns to a table, rename the columns, change the order of the columns, or remove existing columns. This is done by clicking the Change options in this view ( ) tool in the top right of the header.

Available columns are on the left, while currently-applied columns are on the right. To see definitions for each available column, see Descriptions of data columns.
- To add a column to the display, select its name on the left and press the right arrow key to move it to the right.
- To remove a column from the display, select its name on the right and press the left arrow key to move it to the left.
- To change the order of displayed columns, select the column name you wish to move on the right, then use the up/down arrows to place it in the desired order.
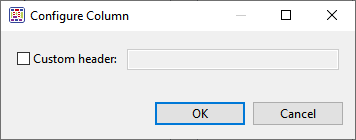
- To create a custom header for a displayed column, select its name on the right, then choose the Configure column tool (
![]() ). In the popup dialog, type in the desired name and press OK.
). In the popup dialog, type in the desired name and press OK.
Need more help with this?
Contact DNASTAR